You keep seeing these three names together: KVM, QEMU, libvirt. They show up in the same sentence and usually in the same install command. So what does each one do? Why do you need all three? And how does the whole stack compare with VirtualBox and VMware Workstation?
Linux has been doing production virtualization for a long time. KVM and QEMU power everything from small home servers to large cloud platforms. The stack is free, it ships with every major distribution, and it runs at near-native speed.
In this guide, we'll go through what each component does, why they work as a team, and how to install the full stack on Debian/Ubuntu and Fedora/Rocky/AlmaLinux. Then we'll compare it with the two desktop hypervisors you probably already know.
What Is KVM?
KVM stands for Kernel-based Virtual Machine. It's a Linux kernel module that turns the kernel itself into a hypervisor.
That's worth repeating: you don't install a separate hypervisor OS. You load a module (kvm_intel or kvm_amd), and the kernel you already boot every day can now run isolated virtual machines with hardware acceleration.
Key facts:
-
It's part of the kernel. KVM has been in mainline Linux since kernel 2.6.20 (2007). You don't need out-of-tree drivers or DKMS.
-
It needs hardware virtualization. Your CPU must support Intel VT-x (
vmxflag) or AMD-V (svmflag), and it must be enabled in BIOS/UEFI. -
It exposes
/dev/kvm. User-space programs create and run VMs through this device file. -
It's fast. Guest code runs directly on the CPU. Only sensitive operations trap back to the kernel.
-
Type 1 or Type 2? People argue about this a lot. KVM lives inside the kernel, so it works more like a bare-metal hypervisor than a hosted app. In practice, it performs like bare metal.
What KVM doesn't do is create virtual NICs or disks, or give you a friendly command to start a VM. It's the raw acceleration engine. Other tools handle the rest.
What Is QEMU?
QEMU ("Quick Emulator") is the machine emulator that works with KVM.
KVM handles CPU and memory virtualization. QEMU builds the rest of the virtual computer around it:
-
Devices: disk controllers, network cards, USB, sound, GPUs, serial ports
-
Firmware: BIOS or UEFI images so the guest can boot
-
Storage: disk image formats, mainly
qcow2(copy-on-write, supports snapshots) andraw(a plain file, fastest I/O) -
Networking: user-mode networking and bridge/tap setups for LAN access
-
Other architectures: run an ARM guest on an x86 host, or the other way around
The word "emulator" is a bit misleading when KVM is involved. In accelerated mode, QEMU doesn't emulate the CPU; KVM handles that. QEMU emulates the devices around the CPU, and that's why performance is near-native.
QEMU can also run without KVM and emulate a foreign CPU instruction by instruction. That works, and you can boot an ARM image on your x86 laptop, but it's much slower.
QEMU's command-line tool (qemu-system-x86_64) accepts dozens of flags. It's powerful, but one typo can cost you an hour of debugging. That's where the third piece comes in.
What Is libvirt?
libvirt is a management layer. It's made up of an API, a daemon, and a set of tools that give you one consistent way to control virtual machines.
What libvirt gives you:
-
virsh: the CLI for daily work: list, start, shut down, rename (domrename), edit, and monitor VMs -
XML domain definitions: each VM is described in an XML file (CPUs, memory, disks, networks)
-
virt-install: scripted VM creation from an ISO in one command -
virt-manager: a desktop GUI that feels a lot like VirtualBox's manager window -
Networking and storage: virtual networks (a default NAT network), storage pools, and volumes
-
A stable, multi-backend API: libvirt supports KVM/QEMU, Xen, LXC, and others
-
Language bindings: Python, Go, Perl and more, which is why automation tools build on libvirt instead of calling QEMU directly
libvirt also has a permission model: add your user to the libvirt group and you can manage system VMs without sudo.
Why All Three Together
Each component does one job:
| Layer | Component | Job |
|---|---|---|
| Kernel | KVM | CPU and memory virtualization at hardware speed |
| Machine | QEMU | Virtual devices, firmware, disk images, networking |
| Management | libvirt | API, daemon, CLI tools, GUI, XML definitions |
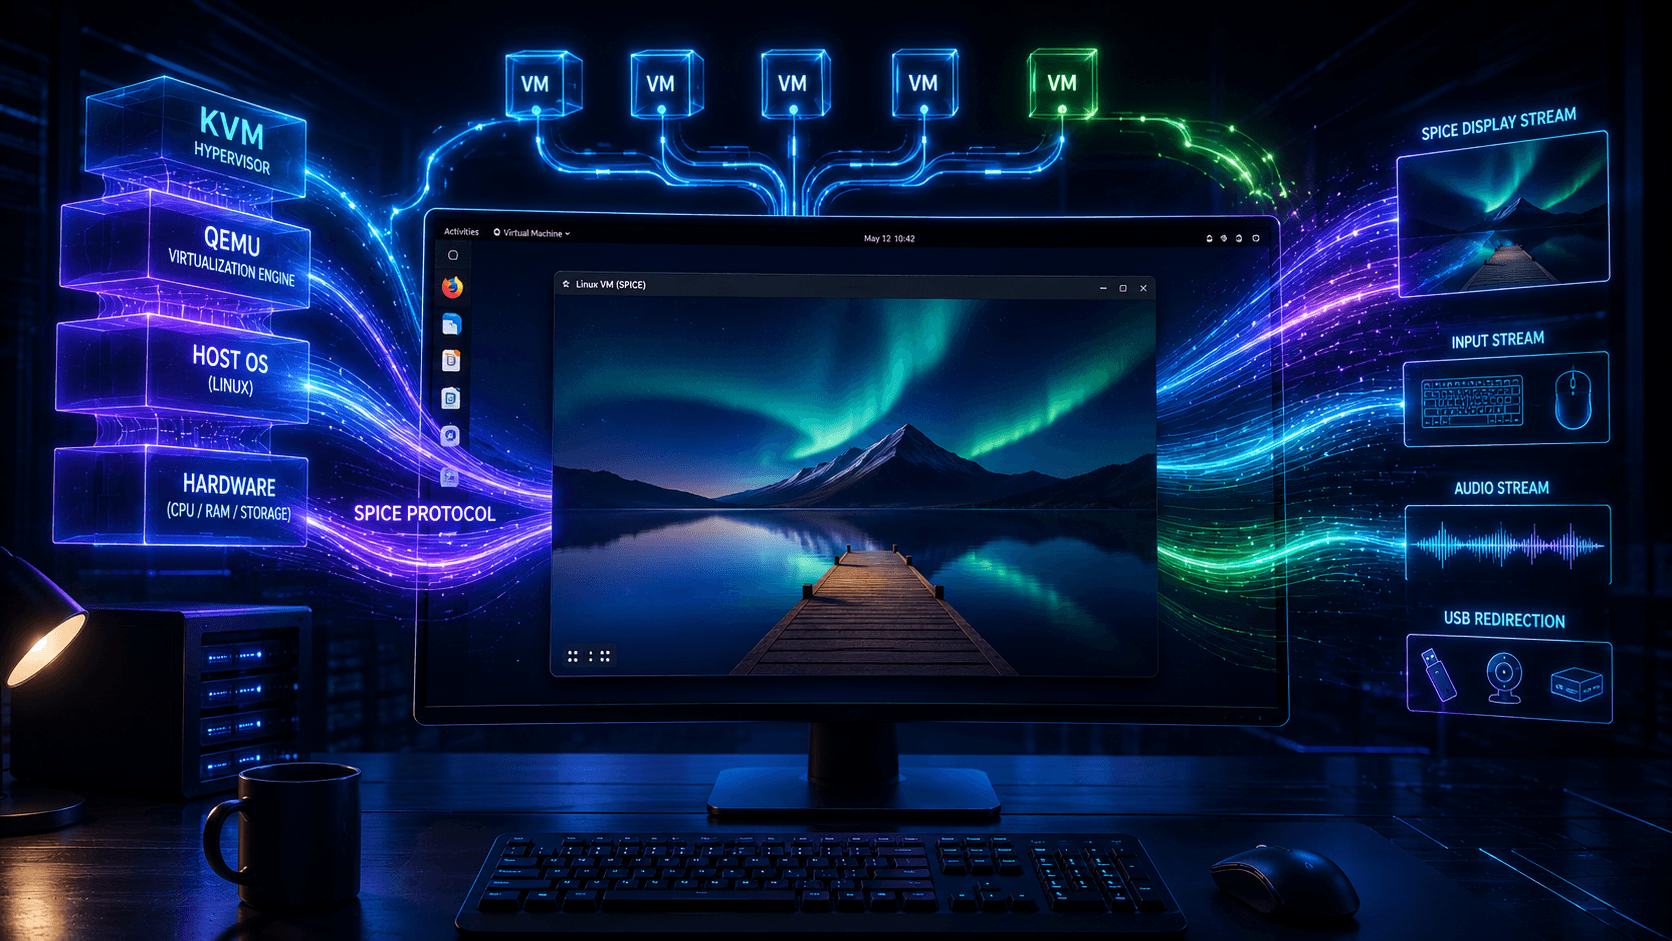
Here's an analogy: KVM is the engine, QEMU is the chassis and wheels, and libvirt is the dashboard and fleet-management software.
Running QEMU by hand is fine for quick experiments. For anything long-term, you'd end up maintaining shell scripts and supervising processes yourself. libvirt replaces all of that with one consistent system, and tools like OpenStack Nova, Cockpit's Machines page, and Ansible's community.libvirt collection are built on it.
Terminology note: When people say "I run KVM on my server," they almost always mean the whole KVM + QEMU + libvirt stack.
Before You Install: Check Your Hardware
grep -Ec '(vmx|svm)' /proc/cpuinfo-
Greater than 0: hardware virtualization is available.
-
0: enable Intel VT-x / AMD-V in BIOS/UEFI. If you're inside a VM, you'll also need nested virtualization enabled.
After installing the packages, confirm the module is loaded:
lsmod | grep kvm # expected: kvm_intel or kvm_amd, plus kvmIf nothing shows up but the CPU flags are there, check dmesg | grep -i kvm for the reason.
Install on Debian and Ubuntu
Both families use the same packages. Tested shape of the command (Debian 12/13, Ubuntu 24.04/26.04):
sudo apt update
sudo apt install -y qemu-system-x86 qemu-utils \
    libvirt-daemon-system libvirt-clients bridge-utils \
    virtinst cpu-checker
What each package gives you:
| Package | Purpose |
|---|---|
qemu-system-x86 |
The QEMU hypervisor binaries |
qemu-utils |
qemu-img for disk image creation and conversion |
libvirt-daemon-system |
The libvirtd daemon and system configuration |
libvirt-clients |
virsh and friends |
virtinst |
virt-install for scripted VM creation |
bridge-utils |
Network bridging (only needed for LAN-reachable guests) |
cpu-checker |
kvm-ok helper to verify hardware virtualization |
Add the graphical manager if you have a desktop:
sudo apt install -y virt-manager virt-viewerEnable the daemon:
sudo systemctl enable --now libvirtdAllow your user to manage VMs without sudo:
sudo usermod -aG libvirt "$USER"
newgrp libvirt
Verify:
virsh version
virsh list --all
virsh version should report the libvirt and QEMU versions; virsh list --all should return an empty table without permission errors. Done — the stack is live.
Install on Fedora, Rocky Linux, and AlmaLinux
These distros share dnf and the RPM ecosystem, but the exact commands differ slightly. Pick your distro.
Fedora
Fedora bundles the whole stack in one package group:
sudo dnf install -y @virtualization
sudo dnf install -y virt-manager
@virtualization pulls in qemu-kvm, libvirt-daemon-kvm, virt-install, virt-viewer, and dependencies. On recent Fedora releases virt-manager is installed separately (it left the default group), hence the second line.
Fedora-specific note: recent Fedora releases ship modular libvirt daemons instead of the single libvirtd.service. If systemctl status libvirtd shows no such unit, activate the per-subsystem sockets:
for SOCK in virtqemud.socket virtnetworkd.socket virtstoraged.socket \
            virtnodedevd.socket virtsecretd.socket \
            virtnwfilterd.socket virtinterfaced.socket; do
  sudo systemctl enable --now "$SOCK"
done
(Older Fedora versions with the monolithic daemon: sudo systemctl enable --now libvirtd as usual.)
Then add your user to the group:
sudo usermod -aG libvirt "$USER"
newgrp libvirt
Rocky Linux and AlmaLinux (9 and 10)
The core packages are in the repositories you already have. EPEL adds the extras:
sudo dnf install -y epel-release
sudo dnf install -y qemu-kvm libvirt virt-install virt-viewer \
    libvirt-client bridge-utils
sudo dnf install -y virt-manager
sudo systemctl enable --now libvirtd
sudo usermod -aG libvirt "$USER"
newgrp libvirt
EL10-specific note: on Rocky Linux 10 / AlmaLinux 10, virt-manager is deprecated and no longer packaged. The supported graphical path is Cockpit's machine management:
sudo dnf install -y cockpit cockpit-machines
sudo systemctl enable --now cockpit.socket
Then browse to https://localhost:9090 and open the Machines page. On EL9, virt-manager works normally.
Verify on any of the three:
virsh version
lsmod | grep kvm
Your First Virtual Machine
The stack is installed. Spin up a guest:
Graphical path — launch virt-manager, click File → New Virtual Machine, pick Local install media, browse to an ISO, allocate disk and memory, done.
Command-line path — one virt-install invocation:
virt-install \
  --name test-vm \
  --memory 2048 \
  --vcpus 2 \
  --disk size=20,format=qcow2 \
  --cdrom ~/isos/ubuntu-26.04-live-server-amd64.iso \
  --os-variant ubuntu26.04 \
  --network network=default \
  --graphics spice \
  --noautoconsole
The VM appears in virsh list, gets a NAT network address automatically (192.168.122.0/24 by default), and opens its installer console in virt-viewer (or virt-manager).
Useful daily commands:
virsh list --all          # every VM, running or not
virsh start/stop test-vm  # power control
virsh dominfo test-vm     # CPU, memory, disk summary
virsh dumpxml test-vm     # full XML definition
The Comparison: KVM Stack vs VirtualBox vs VMware Workstation
| KVM + QEMU + libvirt | Oracle VirtualBox | VMware Workstation Pro | |
|---|---|---|---|
| License | Open source (GPL/LGPL) | Base package GPLv3; Extension Pack is proprietary (now much smaller) | Proprietary, free for personal and commercial use |
| Current version | QEMU 11.1, libvirt 12.8 | 7.2.20 (Sep 2026) | 26H1 |
| Architecture | In-kernel (KVM) + user space (QEMU) | User-space app + its own kernel modules | User-space app + its own kernel modules |
| Performance | Near-native | Very good with VT-x/AMD-V | Very good |
| Server/headless use | Native: SSH + virsh |
Possible (headless mode), but GUI-first | GUI-first |
| Management | virsh, virt-install, virt-manager, Cockpit, Ansible |
GUI + VBoxManage |
GUI + vmrun |
| Remote management | Built in (qemu+ssh://) |
VRDP, plus VBoxManage over SSH | Limited |
| Automation | First-class: API, XML, Python/Go bindings | Moderate (VBoxManage) |
Moderate (vmrun, REST API) |
| Snapshots | Yes (qcow2 internal and external) | Yes | Yes, with a mature snapshot manager |
| Guest drivers | VirtIO (built into the Linux kernel) | Guest Additions (open source) | VMware Tools / open-vm-tools |
| 3D acceleration | Improving (virtio-gpu + virgl) | Good (VMSVGA) | Strongest of the three (DX11) |
| Host OSes | Linux | Windows (x86 & Arm), macOS (Intel & Apple Silicon), Linux, Solaris | Windows, Linux |
| Learning curve | Moderate | Minimal | Minimal |
Where the KVM stack wins
-
Performance under sustained load: build servers, databases, CI runners.
-
Headless and remote work: SSH in, run
virsh, done. -
Automation: Ansible, Terraform providers, and CI pipelines all speak libvirt.
-
It's already there: packages come from your distro's repos, so there's no third-party kernel module to sign or rebuild after every kernel update.
-
Licensing: open source from top to bottom.
Where VirtualBox wins
-
Cross-platform consistency: the same app on Windows, macOS (including Apple Silicon) and Linux.
-
Easy to start: download, install, and your first VM is up in minutes.
-
Desktop conveniences: shared clipboard, drag-and-drop, shared folders and seamless mode.
-
More of it is open now: recent 7.2 releases moved VRDP, smartcard emulation, VM encryption and NVMe emulation into the open-source base package.
Where VMware Workstation Pro wins
-
3D performance for Windows guests.
-
Snapshot and clone management with a polished UI.
-
Familiar to VMware shops: it shares concepts and OVF/OVA formats with vSphere/ESXi.
-
It's free now, for commercial use as well. What remains is a closed-source dependency on Broadcom's roadmap.
Which should you pick?
-
Linux servers, homelabs, automation, cloud-node work → KVM + QEMU + libvirt
-
Casual desktop VMs or switching between operating systems → VirtualBox
-
Windows-centric work, heavy 3D guests, a VMware environment → Workstation Pro
-
Learning Linux virtualization seriously → start with the KVM stack. The skills carry over to Proxmox, oVirt and OpenStack.
Final Thoughts
KVM, QEMU and libvirt aren't three competing tools. They're three layers of one system: KVM accelerates, QEMU builds the machine, and libvirt manages everything. Every major distro installs the whole stack with one apt or dnf command, so the "complex" reputation is a bit outdated.
VirtualBox and Workstation give you polish and portability. The KVM stack gives you performance, automation, and full control of your toolchain. Once you've had virt-install build a VM while you were busy with something else, it's hard to go back to clicking through wizards.
Versions referenced: QEMU 11.1, libvirt 12.8, VirtualBox 7.2.20, VMware Workstation Pro 26H1. Current as of October 2026.